Introduction
|
Layla is a rather large rhino with nasal stenosis. Back in 2019, a (very) bad toothache caused advanced scar tissue growth into her nasal cavity making it difficult for her to breath. More in depth information into Layla's history can be found on YouTube courtesy of Dr. Mike who is located near the rhino in Chicago; knowing nothing about rhinos myself, I'll defer to the expert rather than parroting what he has to say.
Fast forward to 2020 and post tooth removal Layla is still doing well, but must undergo regular surgery to prevent scar tissue from building up in the nasal cavity. The scar tissue is no longer caused by an infection of the rear molar, but is instead caused by the repeated movement of air across the damaged tissue as the rhino breaths. |
|
The idea for a custom built stent was proposed by Mike and Matt Allender to CNSI Co-director Prof. Craig Hawker, who passed off the project to my lab. CNSI's sister campus, UCLA was also brought on due to their development of a drug coating that would inhibit tissue growth. The hope is that with a stent in place, the damaged tissue will have time to heal properly and the stent could eventually be removed with little damage to the rhino due to the tissue growth inhibiting coating. Stanford later volunteered their Carbon 3D printer with biocompatible resin capabilities which greatly expanded the available materials in which to print the stent.
Stent Design
|
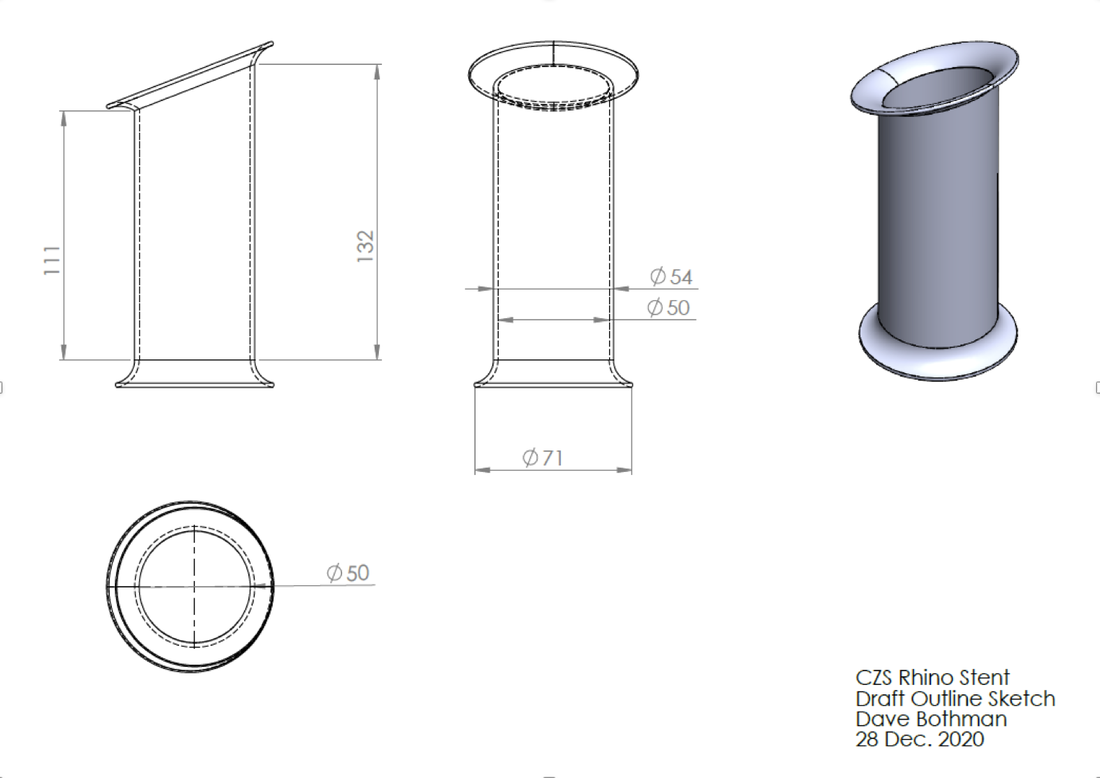
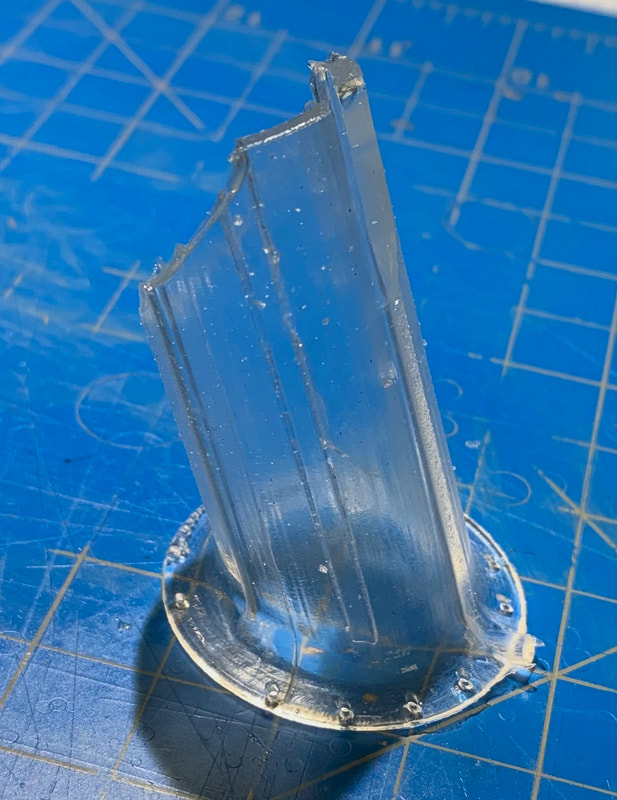
The original design for the rhino stent was proposed by my manager Dave Bothman. It consisted of a revolved sketch and a swept lip at about a 45 degree angle. This base design formed the foundation of many of the stents however the design did evolve, at one point featuring collapsable tentacles instead of a solid base flange, and later the complete removal of one of the flanged ends. One difficult consideration was that the geometry of the rhinos nasal passage was constantly changing as tissue would be built up and scraped away during surgery. Each time a prototype stent was shipped to Chicago, three different lengths were sent as the desired stent length would not be known until the rhino was sedated and the vet had their hand shoved way up into Layla's mouth.
|
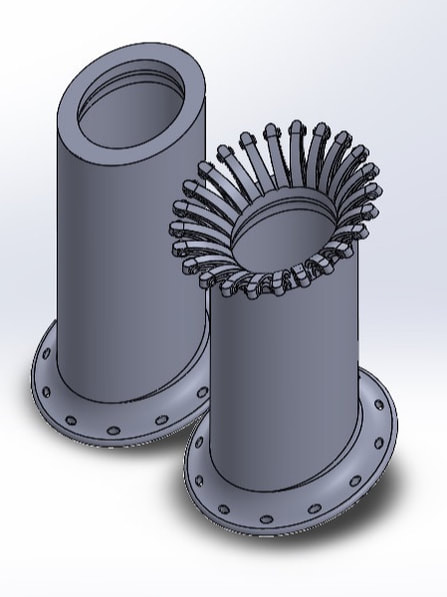
The pictures below show the evolution of the design of the stent overtime. Suture holes were added to secure the stent into place, I-beam tentacles were patterned around the ellipse formed from cutting the revolved sketch at a 45 degree angle, and later three groves were added along the axis of the stent to provide thinner areas the vet could cut through while removing the stent to avoid causing tissue damage.
|
Stent prototype 7 and 8. Note I-beam tentacles vs solid body stent
|
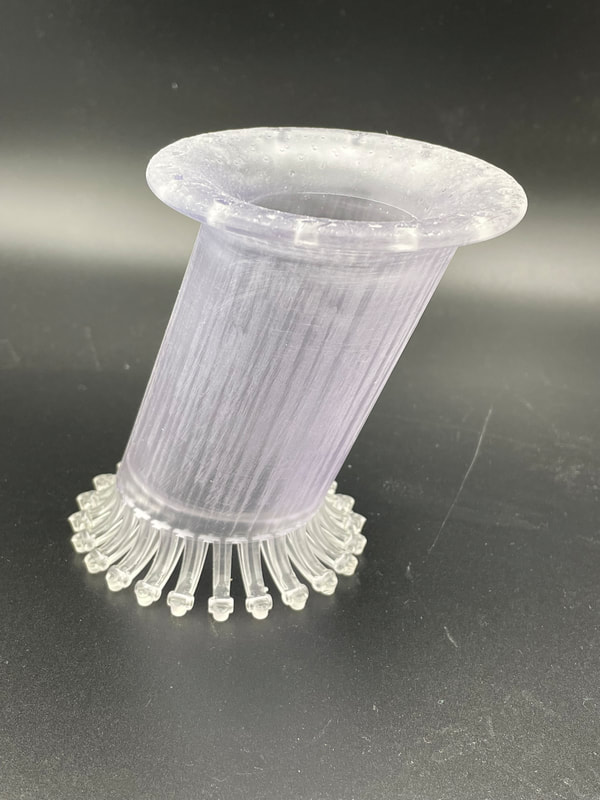
Stent prototype 7A in FormLabs Elastic 80A. Note perpendicular holes across I-beam tentacles to facilitate holding the I-beams in their collapsed shape during insertion
|
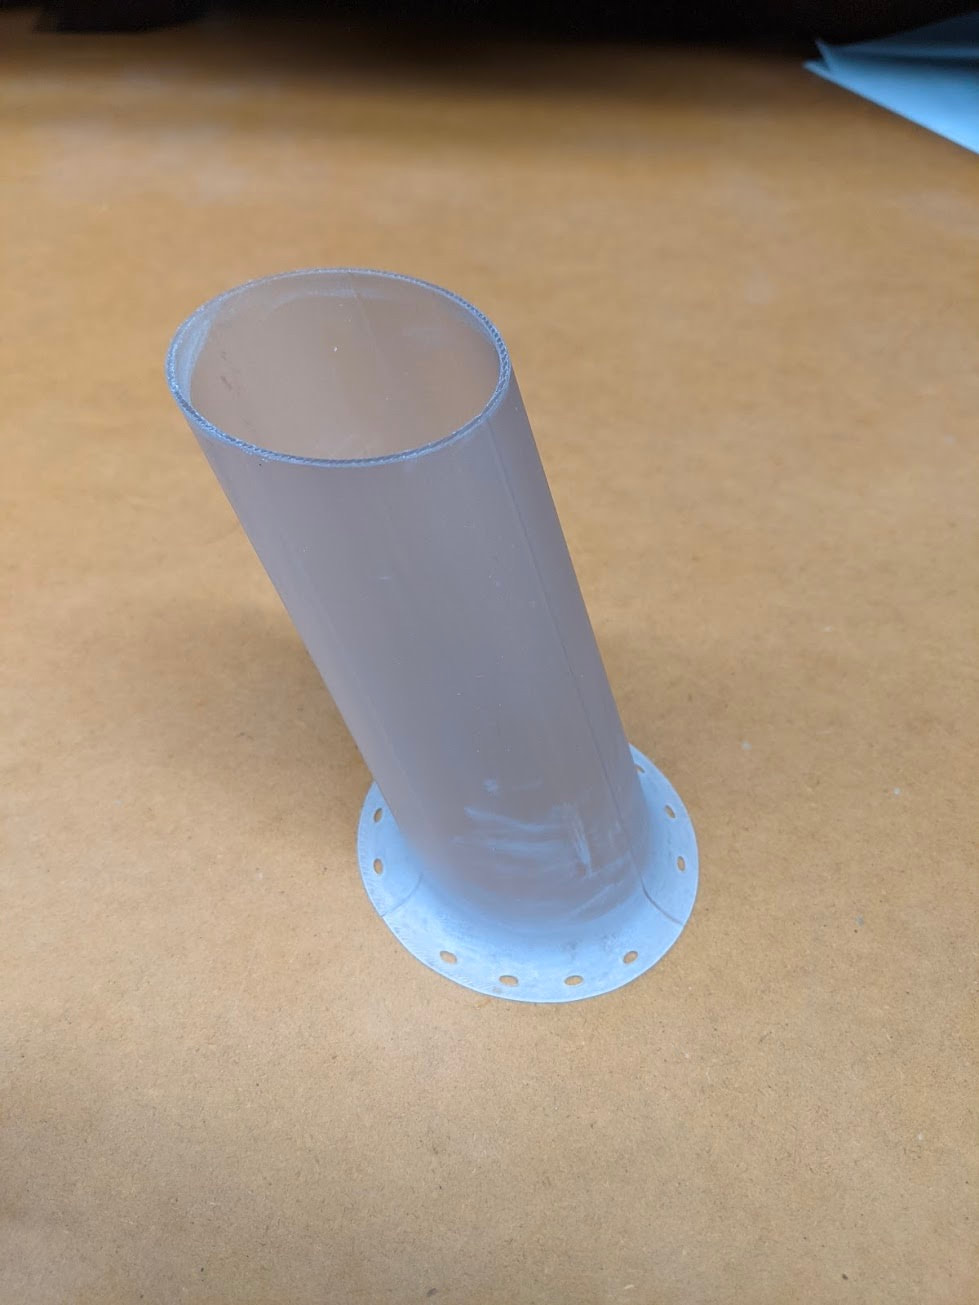
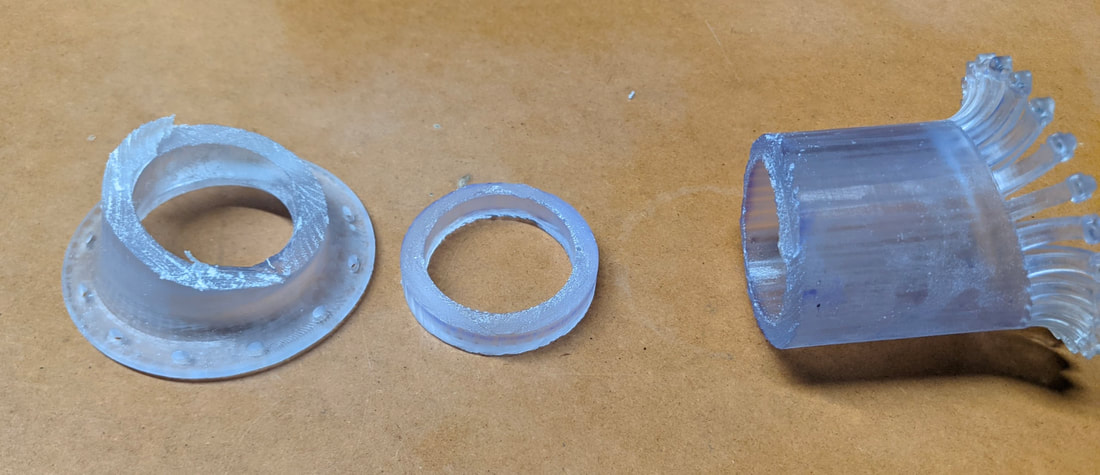
Stanfords version of the stent utilizing Carbon 3D's biocompatible resin. Note the difference in wall thickness in an attempt to mimic the mechanical properties of the Elastic 80A
|
|
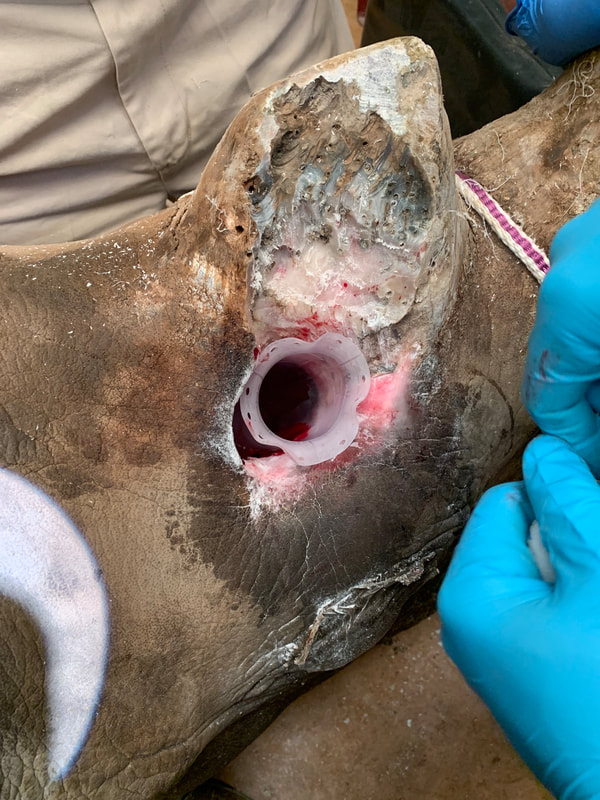
Unfortunately due to the difference in mechanical properties between the available FormLabs resin and the bio-compatible Carbon 3D resin it was discovered during instillation that the Carbon 3D resin was too rigid to mold to the shape of the rhinos nasal cavity and nasal opening. This leads into the next two sections on the available materials for 3D printing of the stent, as well as alternate means of manufacturing should the photo elastomers fail due to not being biocompatible, having undesirable material properties, or being impossible to coat with the tissue growth inhibiting drug coating.
|
Material Considerations
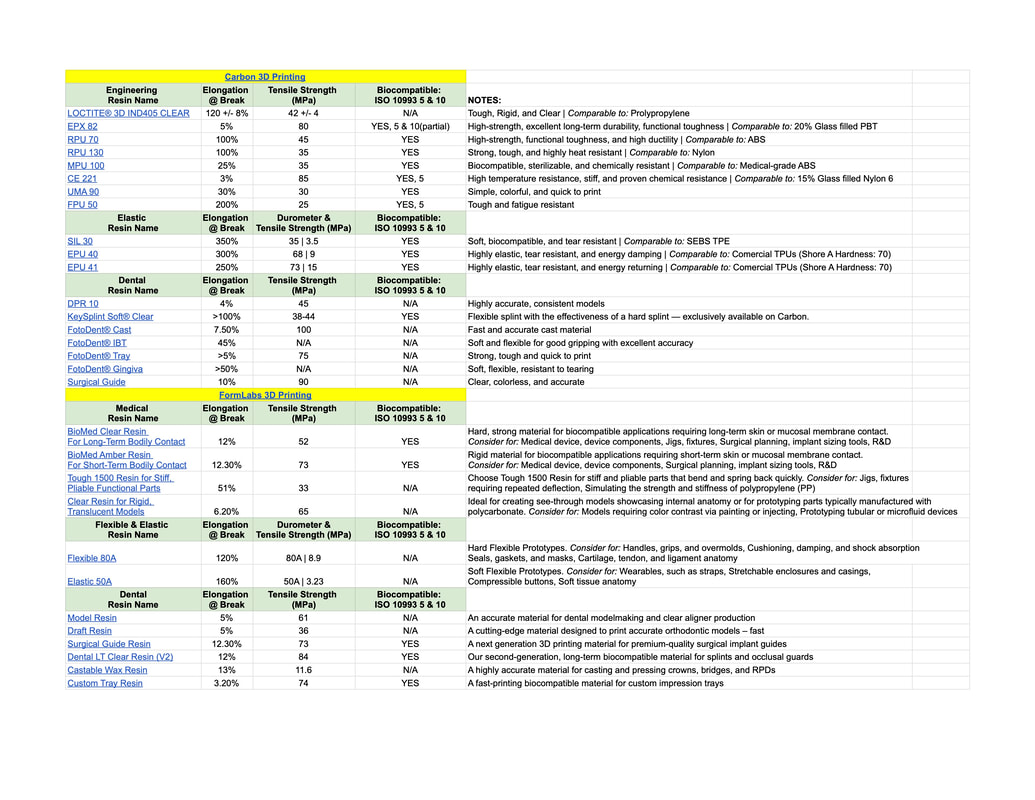
Have a blurry picture of a spreadsheet of available materials..... (need to fix)
|
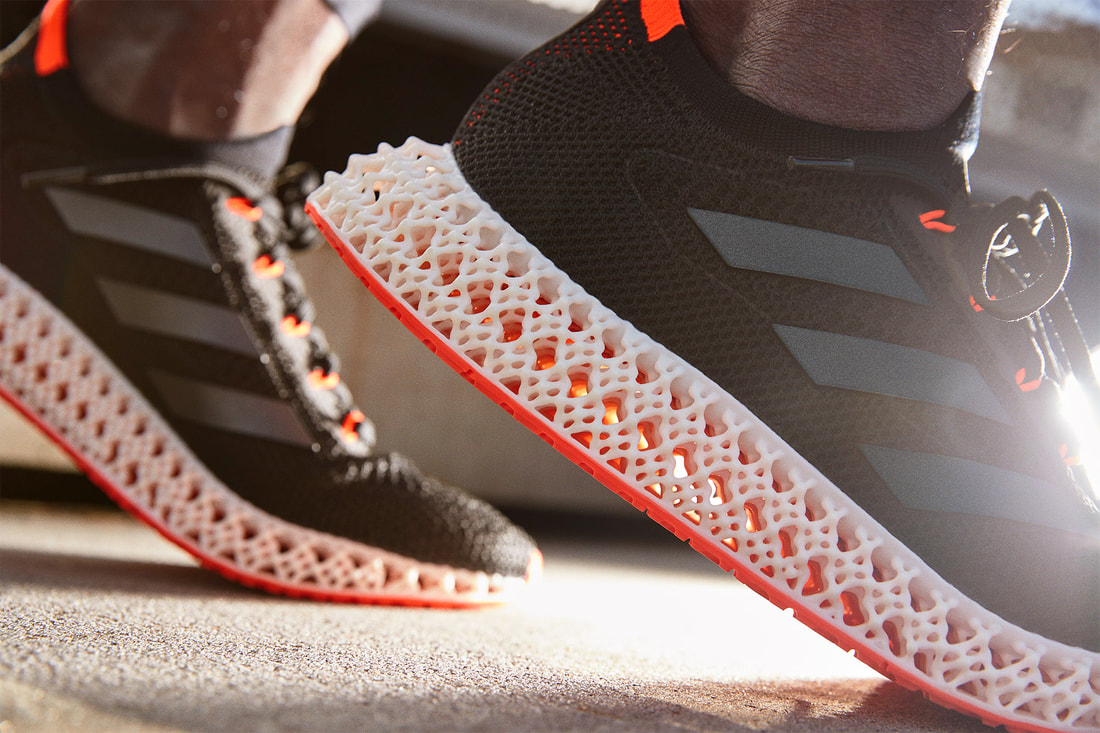
Carbon 3D does have a material that has very similar mechanical properties to the Formlabs Flex 80A resin, however it is not verified as bio-compatible due to lack of testing. After extensive communication with Carbon 3D, we learned the material should be inert enough for short term internal implantation or long term external contact. This material is typically used to build and prototype 3D printed shoe soles for a few very prominent shoe brands, and is incompatible with Stanfords current setup of the Carbon 3D.
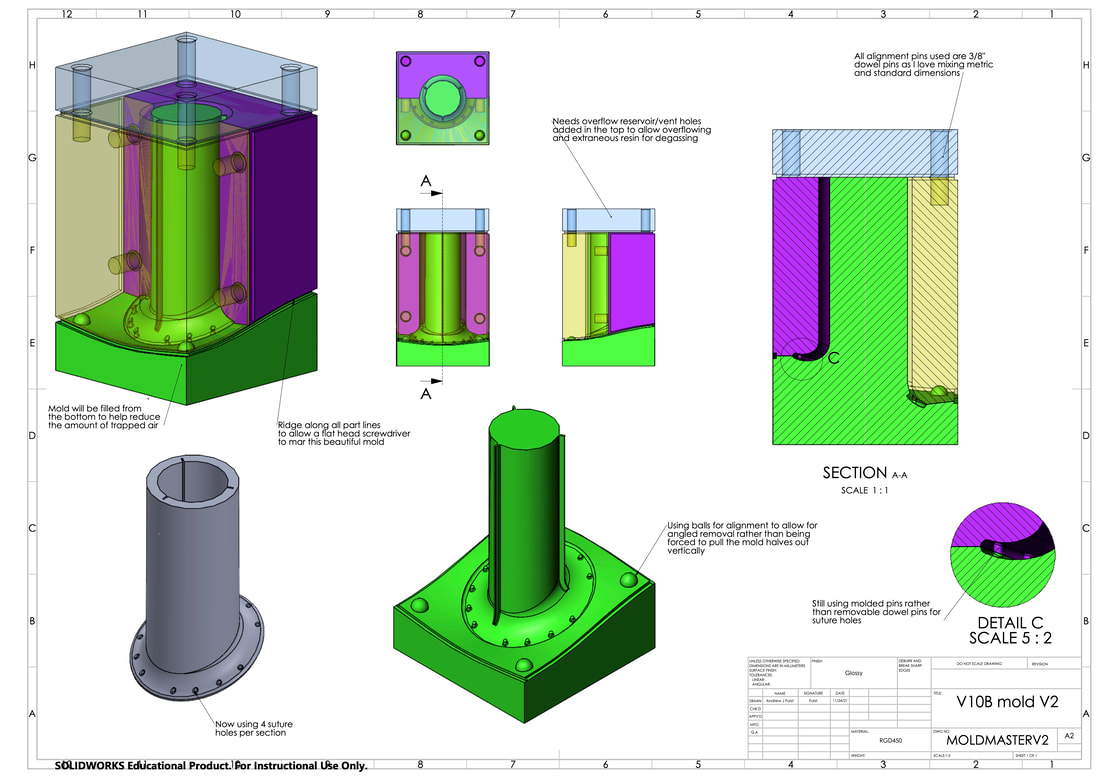
We might be able to convince Carbon 3D to manufacture our prototype stents, however I find it unlikely that they will allow improper usage of their material on a sponsored project. This lead us to explore different manufacturing methods as seen below. |
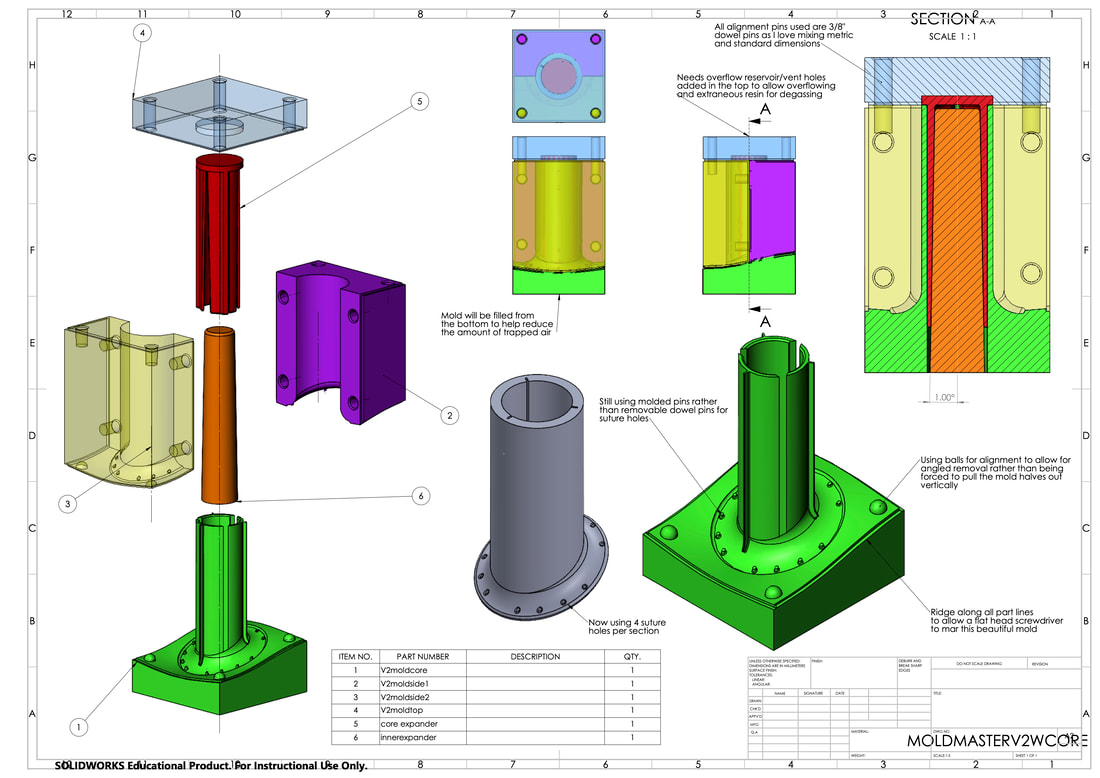
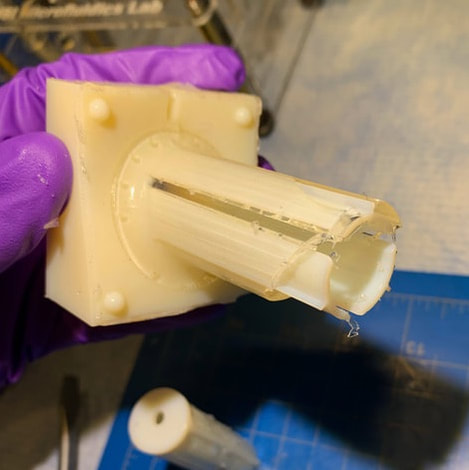
Alternate Manufacturing Methods (mold making)
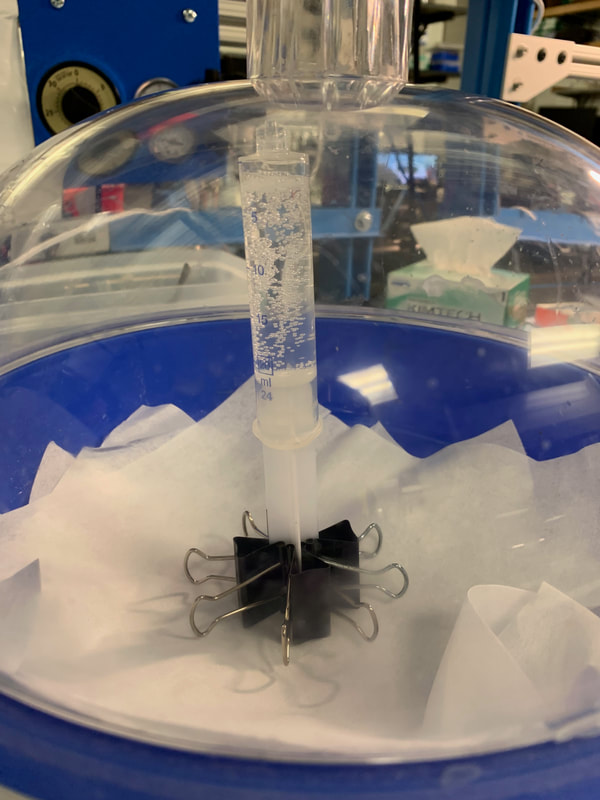
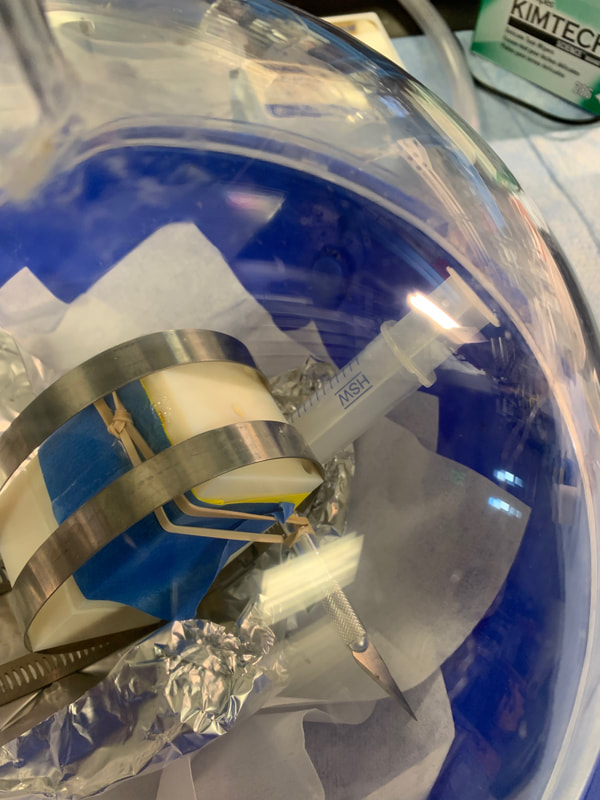
Degassing PDMS syringe and mold once PDMS has been injected
As much fun as repeatedly sedating a rhino sounds, going elbows deep into the mouth of a 2,300 pound dinosaur before breakfast is not on my bucket list so this was definitely one time where I don't mind being so far removed from the actual application of the part. Unfortunately, they not only provided photos, but also videos of one of the stents installations. Being someone who made my 9th grade lab partner do the entire frog dissection, I was not thrilled to wake up to this in my inbox...
