|
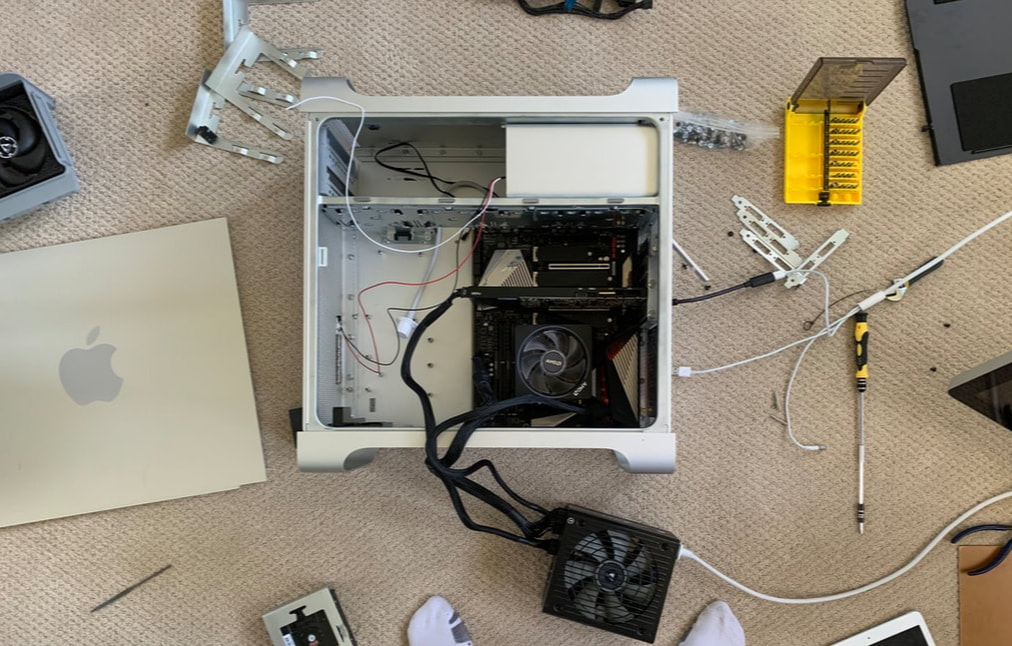
The build begins with a beautiful 2008 Mac Pro. The previous owner of this computer had it outfitted with 4 bone stock dedicated graphics cards, and twin XEON 5160's, for a total of 8 cores. Although it broke my heart to do so, I decided to tear apart the Mac Pro to save her from the great computer graveyard.
|
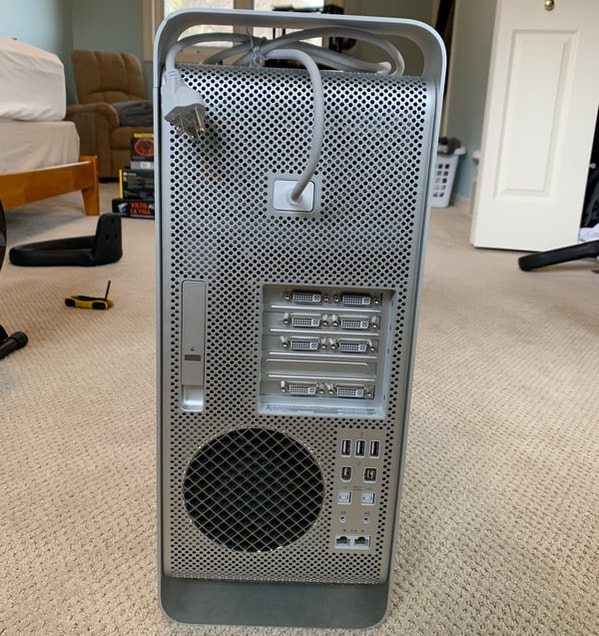
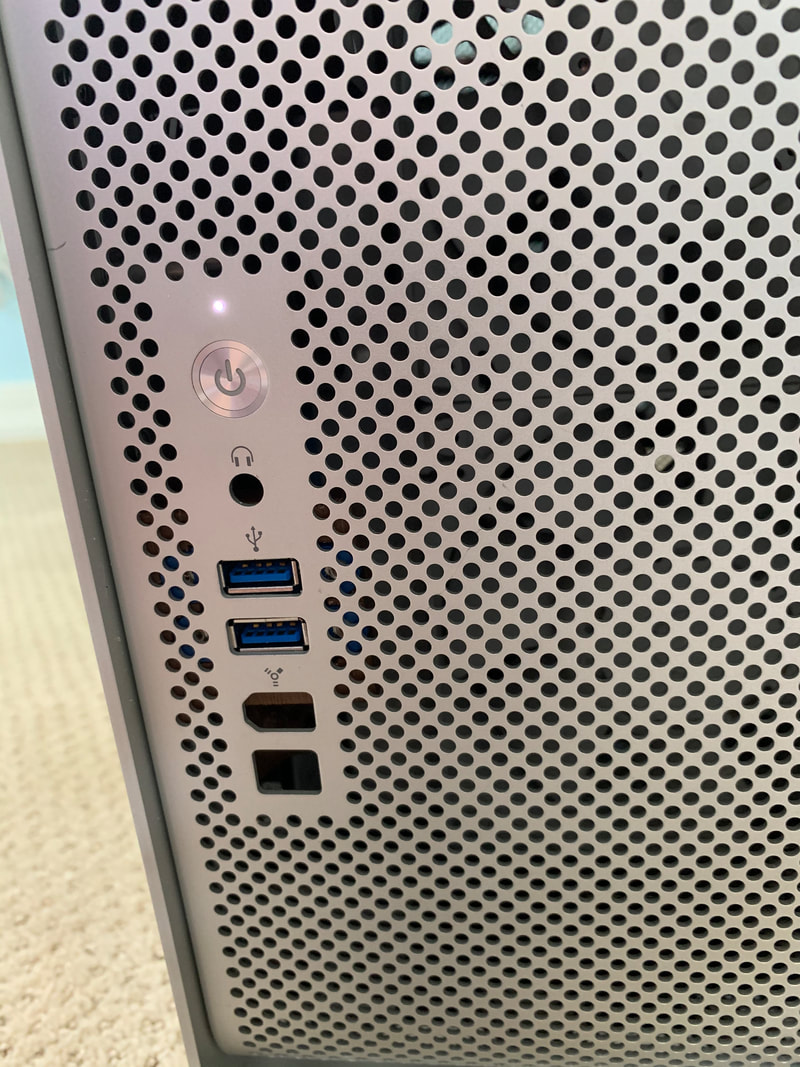
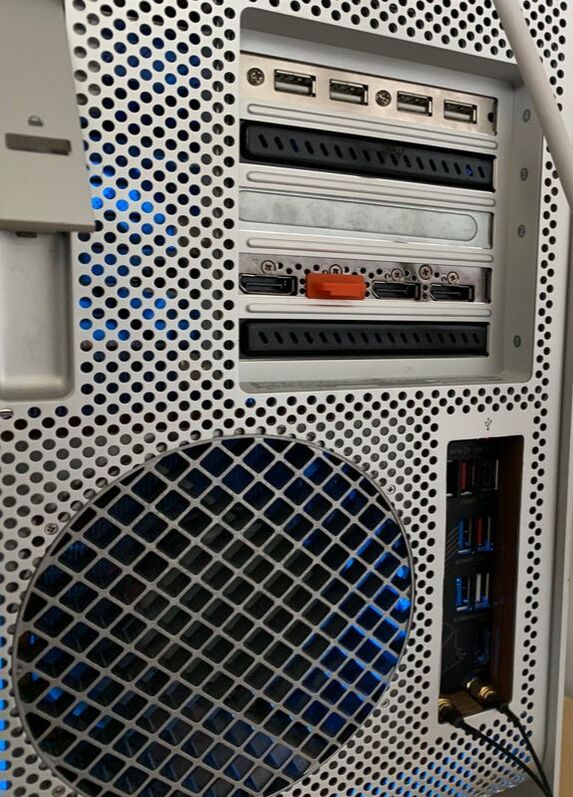
Stripping out all of the parts I wasn't going to reuse only took about 2 hours, however I was faced with some vary large problems I wasn't sure how to initially fix. First, the front and rear ports where not only outdated, but in the front were connected by a proprietary pin out on a secondary daughter board, and in the rear were machined into the aluminum backplate (which my motherboard will not touch when installed). I really wanted to maintain a clean outer form, so I have yet to decide how to fix these problems completely. In the front I believe a USB header can be fitted with some custom brackets to sit behind the front ports, but the rear ports can not be used, or must be removed in order to access my new motherboard.
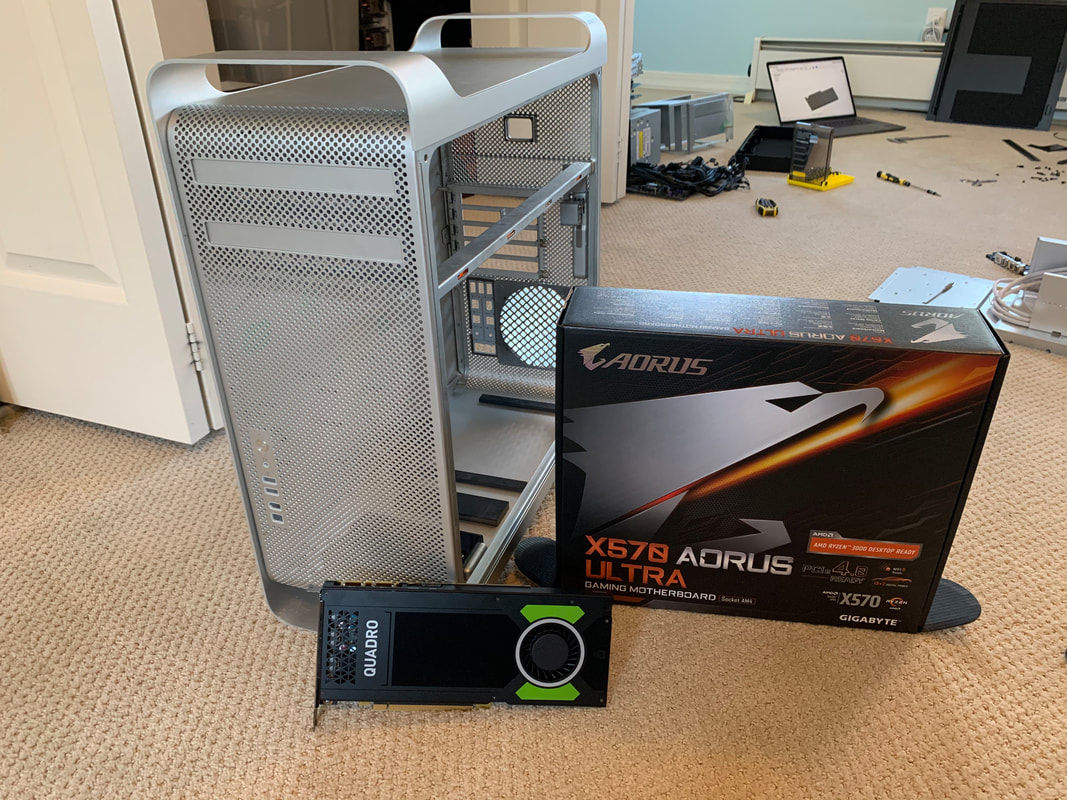
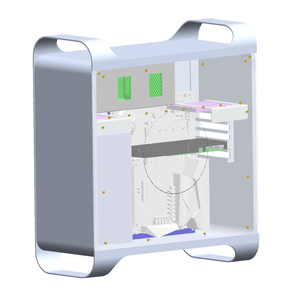
Here the case is in its final form, ready to be measured, along with its intended components. A Quadro P4000 and a Ryzen 3900X should really help out with modeling and make working on my bigger projects much easier. It damn well better for the $2300 this workstation is going to cost me. The first steps were modeling up the case, motherboard, and graphics card in order to figure out how, and if it is even going to fit.
|
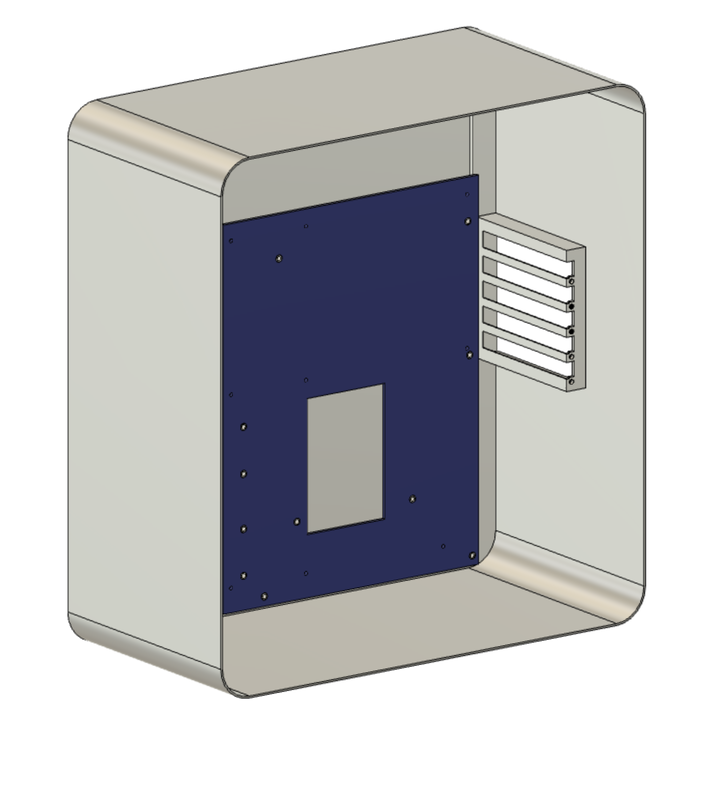
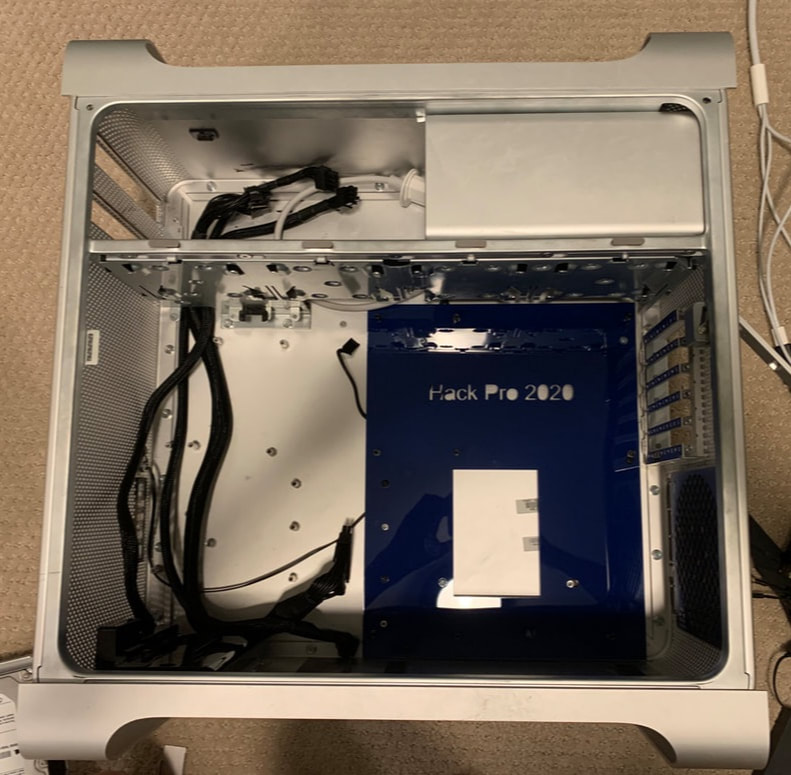
After getting all of the components into Fusion 360, I decided that all of the motherboard stand offs would have to be shortened by about 7 mm, and that an acrylic mid plate would be the easiest way to go from Apple's proprietary motherboard stand offs, to the normal ATX spaced ones that would be necessary to mount this motherboard. As I am doing this project at my parents house, my tooling was rather limited, and the posts had to be shortened by drilling them with an oversized drill bit then hand filed to length. Spacers were placed on each post, and the piece of laser cut acrylic was placed down before being screwed into place. The acrylic was simply a Mac Pro to ATX stand off conversion, but it proved to be surprisingly difficult to nail down all the dimensions with my ruler and vernier calipers. The spacing of the standoffs is crucial, as I am reusing the original PCIe slots, and the graphics card positioning is very persnickety and high tolerance. Some of the Mac Pro mid plate, where the CD drives and power supply used to sit on, also had to be removed to accommodate the motherboard, thankfully angle grinders are cheep, and so is my labor sense this is also hand filed.
|
|
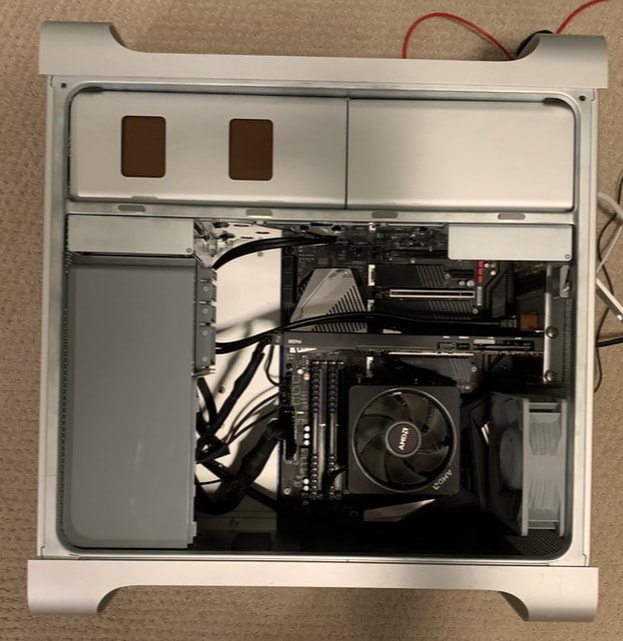
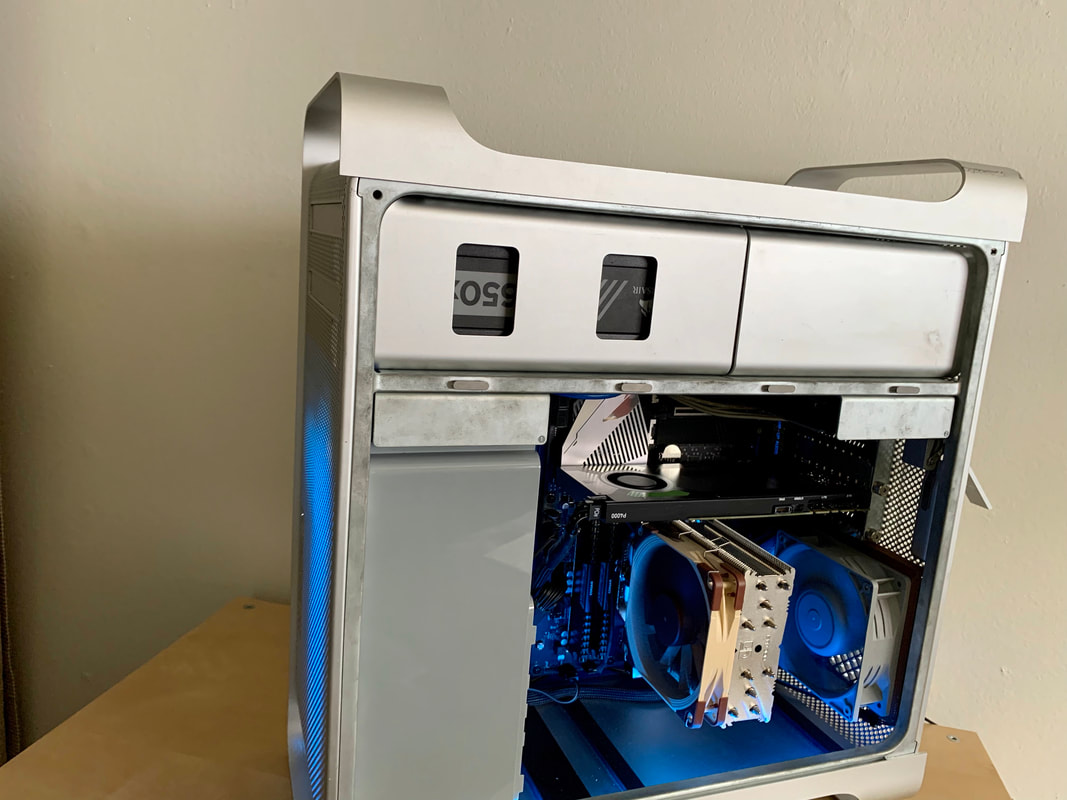
A quick test fit to make sure it posted and it was time to run the power cables and wire up the power button and LED. My plan was to utilize the stock CD drive sled to house the power supply, which in both of these pictures (above and below) is removed. While I was still knee deep in the Mac, I wired in a junction which would allow me to internally mount the power supply without any gross external wiring.
|
|
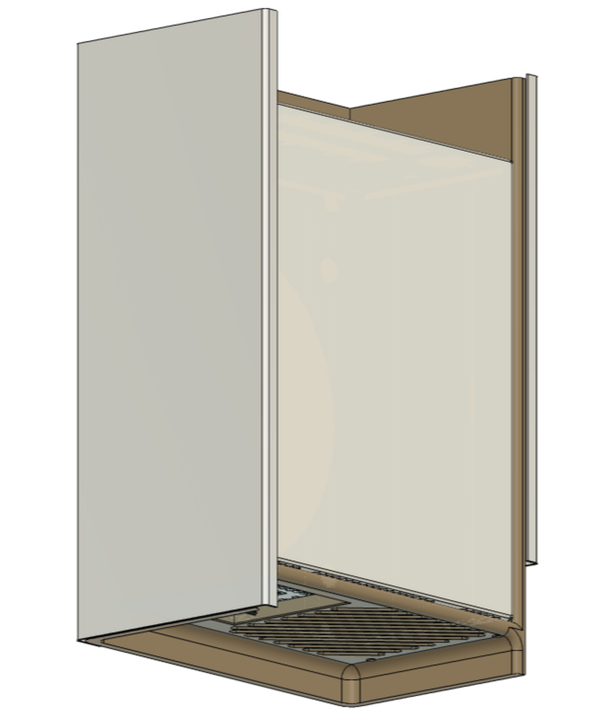
First the optical drive tray was modeled using a sheet metal plug in, and then basic dimensions of the power supply were used to construct a crude model. My ending design had the power supply mounded upside down, sucking in fresh air from the top front of the case and exhausting it out the back with the help of an additional internally mounted 120 mm fan (similar to stock configuration). At this point the location of the stock power supply was left empty, but I am sure it would be possible to shove some storage or water-cooling up there. As this machine is my main workstation, and can't be out of commission that often, I doubt that will be in the near future however.
Oh god this will be a pain in the ass to water-cool. |
|
The original hard drive sleds were also preserved (although only the front most drive is accessible due to the motherboard) to allow for hot swapping different drives into the Hack Pro. Custom Sata data and Sata to Molex cables were made using the stock Sata connector that screws into the Mac Pro, as plugging in cables to the back of a drive would not be possible, and come on! Seamless hot swap!
|
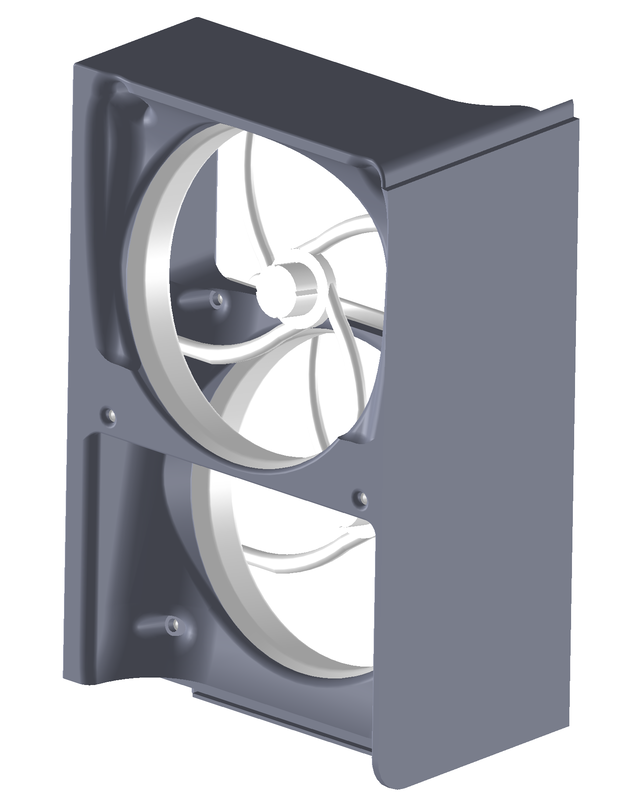
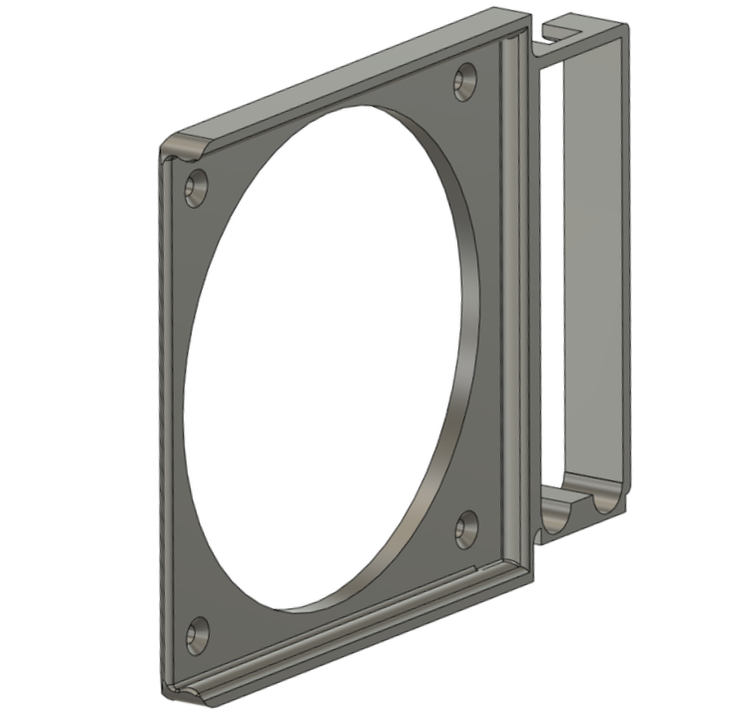
Here the Mac is with the power supply installed. This design allows the power supply and side panel to be removable without any tooling due to the locking mechanism of the stock Mac Pro. I decided to utilize the stock fans and shroud in the front (for now although I do have models and plans for them), and created a snap fit adaptor to fit a 120 mm fan in the rear to aid in exhausting air out from behind the processor. Although it took 2 prints to nail down, the snap fit over the exhaust grate turned out perfect, and has no wiggle whatsoever.
|
|
I can hear you from here: "Andrew, what about that USB, and motherboard access? How am I supposed to plug in the AUX cord and play my bomb ass mixed tape".
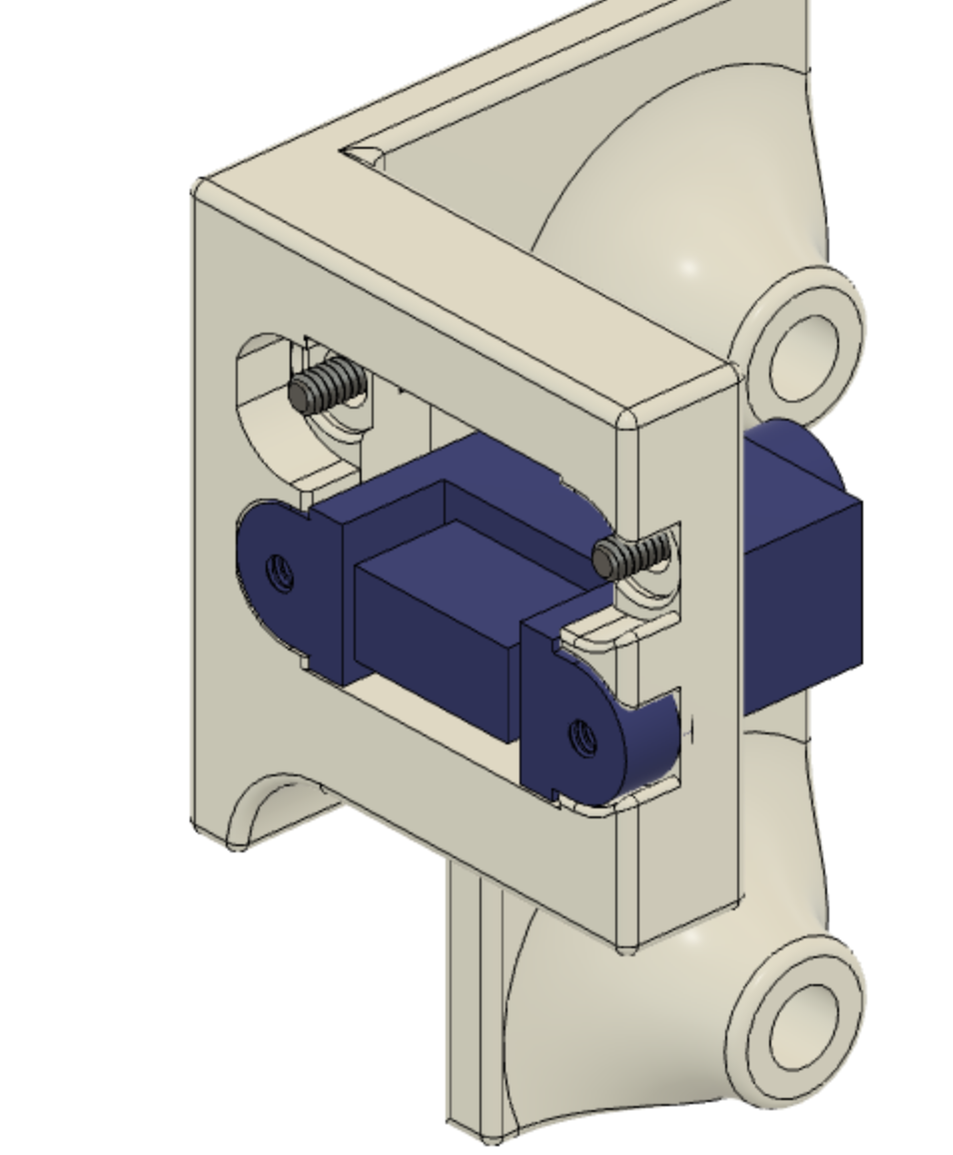
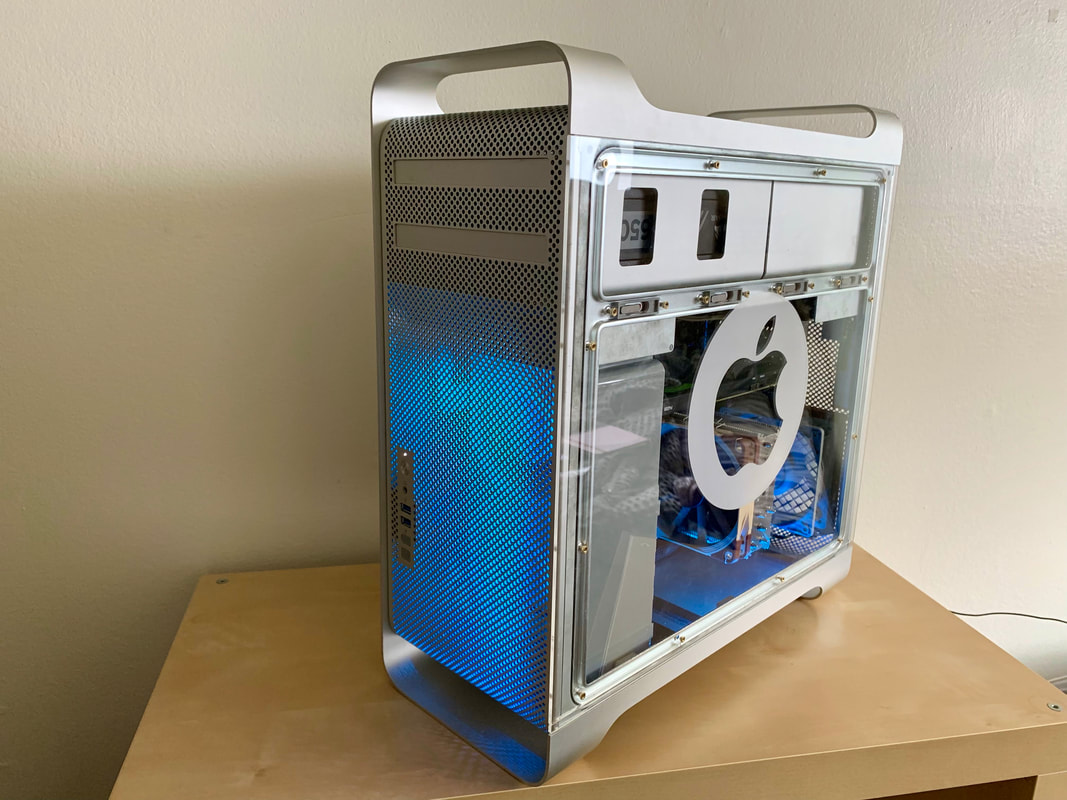
Well, I proudly present, front and rear USB 3.0! These parts were a bit tricky to get perfect, but overall I am happy with how they turned out. This front USB bracket utilizes the stock posts to support the USB ports where they normally would be in the 2008 Mac Pro. For rear IO I utilized the stock location of the Macs motherboard IO, which required careful dremel work to remove the aluminium IO shield that's built right into the frame of the Mac Pro. I then 3D printed a frame to seal against the motherboard's integrated IO shield, and secured it by merging with the frame with the fan shroud previously mentioned. Oh, and I made a sexy acrylic side panel with an engraved Apple logo just for the street cred.
Over all, this was an incredibly fun personal project, and I am more than satisfied with the results. CPU and GPU temps never exceeded 75 degrees under a combine sustained stress test, and this monster handles even my largest projects/renders with ease. |
